While working on the Cheri sample this week I thought I would show an easy way to make basket handles using the Clover bias tape maker. They come in a variety of sizes, you can determine which one you need by measuring the pattern template.
Cut your fabric according to package directions. I like to lightly spray the back side of the fabric with some starch. You'll also need a straight pin, hot iron, and iron mat. Thread fabric through large end of bias tape maker. Use the straight pin to help guide it through the channel.
Once fabric begins to come through small tip use the straight pin and anchor it to the iron pad.
Place the hot iron between the pin and the tip end of the bias maker and slowly pull back the maker as you move the iron in the same direction toward unpinned end. The hiss of the starch should be a clear indicator of successful binding being made.
Pay attention to keeping the fabric threading evenly.
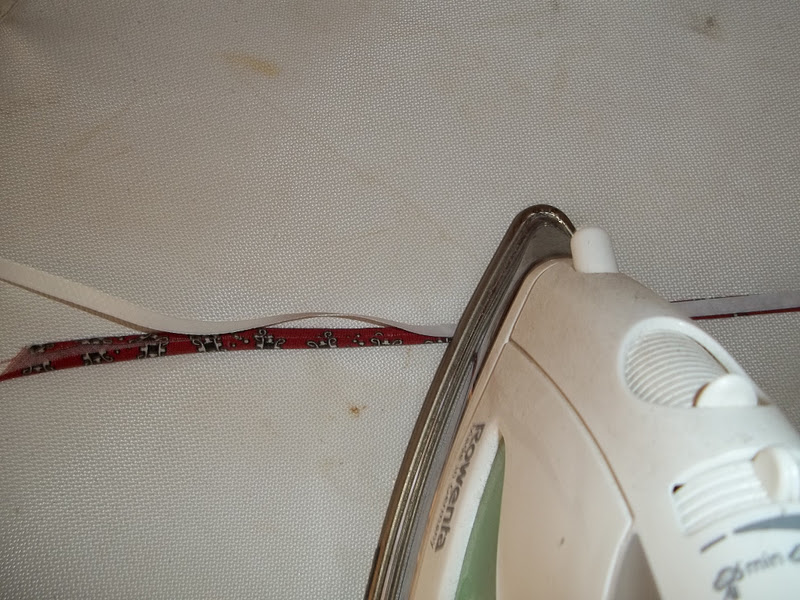
Next I'll add some Clover fusible web tape to the back side of the bias tape. This tape is great for holding bias tape in place, especially if you want to prep a few blocks at a time and keep the bias in place until you get back to it and hand sew it in place.
With paper side up use your hot iron and center tape down center of basket handle.
Press slowly into place.
Give the tape a few minutes to cool and peel off protective paper, revealing fusible glue.
Now you can position the handle into any shape you want. Take slow iron movements to adhere.
I'm leaving the ends hanging off the bottom edge of the block so that I can sew the bottom of the basket and lock them into the seam.
Lots of pieces left to sew but this little cutie is coming along really quickly.


1 comment:
Great tutorial!! The basket is looking really cute also.
Post a Comment