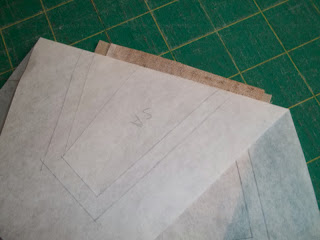
Today I'll try and take you step by step in how to construct these stars. The key is to build them in 3 separate sections. The pattern template has section A, B and C. Within these sections each piece is numbered ie: A1, A2, A3 and A4. You will sew your section in numerical order. I transfer the template onto sandwich paper, which can be found in a Smart n Final type store. I draw the three sections and add 1/4 seam allowance line around the outside of the block, just so I know to go bigger than this line.
Begin section A with piece number 1. This will be gold as it is the very tip of the star. Lay your paper on top of the WRONG side of gold piece #1.
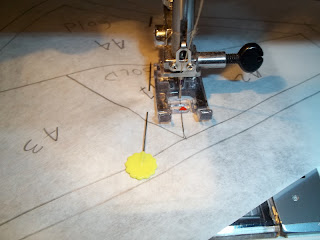
Piece #A2 is background. You will place this piece right sides together (rst) to piece A1. Pin them in place to eliminate shifting. You will be sewing on the line that goes between piece 1 and 2, so make sure to leave a quarter inch seam allowance as shown in the photo below.
Reduce your stitch length to 1.5, this makes tearing the paper away at the end much easier. I also switch my pressure foot to this one that has a little red arrow which I use to follow the sew line. Do not lock down your stitches at beginning or ending of the line.
Once sewing is completed, set the seam with the iron, fold back the paper exposing the seam allowance.
If you have it use your add-a-quarter ruler and trim off any access fabric.
Flip block over from paper side to fabric and fold back the background piece. Press seam open. This is also when you hold your breath that you have added enough fabric to cover the shape drawn for piece #A2, my tip is to always go bigger than you think you need.
Next you will be adding piece #A3 to piece #A1. Fold the paper onto itself on the line between these two pieces.
Use your add-a-quarter ruler and trim off any access fabrics from piece #A1.
Line up rst piece #A3 (another background fabric) to #A1, carefully flip over and pin in place. Sew along line as before.Repeat this process until you have sewn each piece in each section. You will then attach segment A to B and then segment AB to C. Once block sections are all sewn together, trim your block to the finish size required in your pattern instructions.
My advise when paper piecing is go slow, but don't give up, it just might become a process you really end up enjoying.


No comments:
Post a Comment