At a recent sewing group Sharon made this really cute bow tie block. It's sewn by hand and was such fun to make I had to share this with you...you will need One charm square 5" x 5", 4 pins and needle with matching thread. I used YLI for its strength.
Working from the wrong side of fabric, fold in half (right sides together or RST) and finger press on the fold.
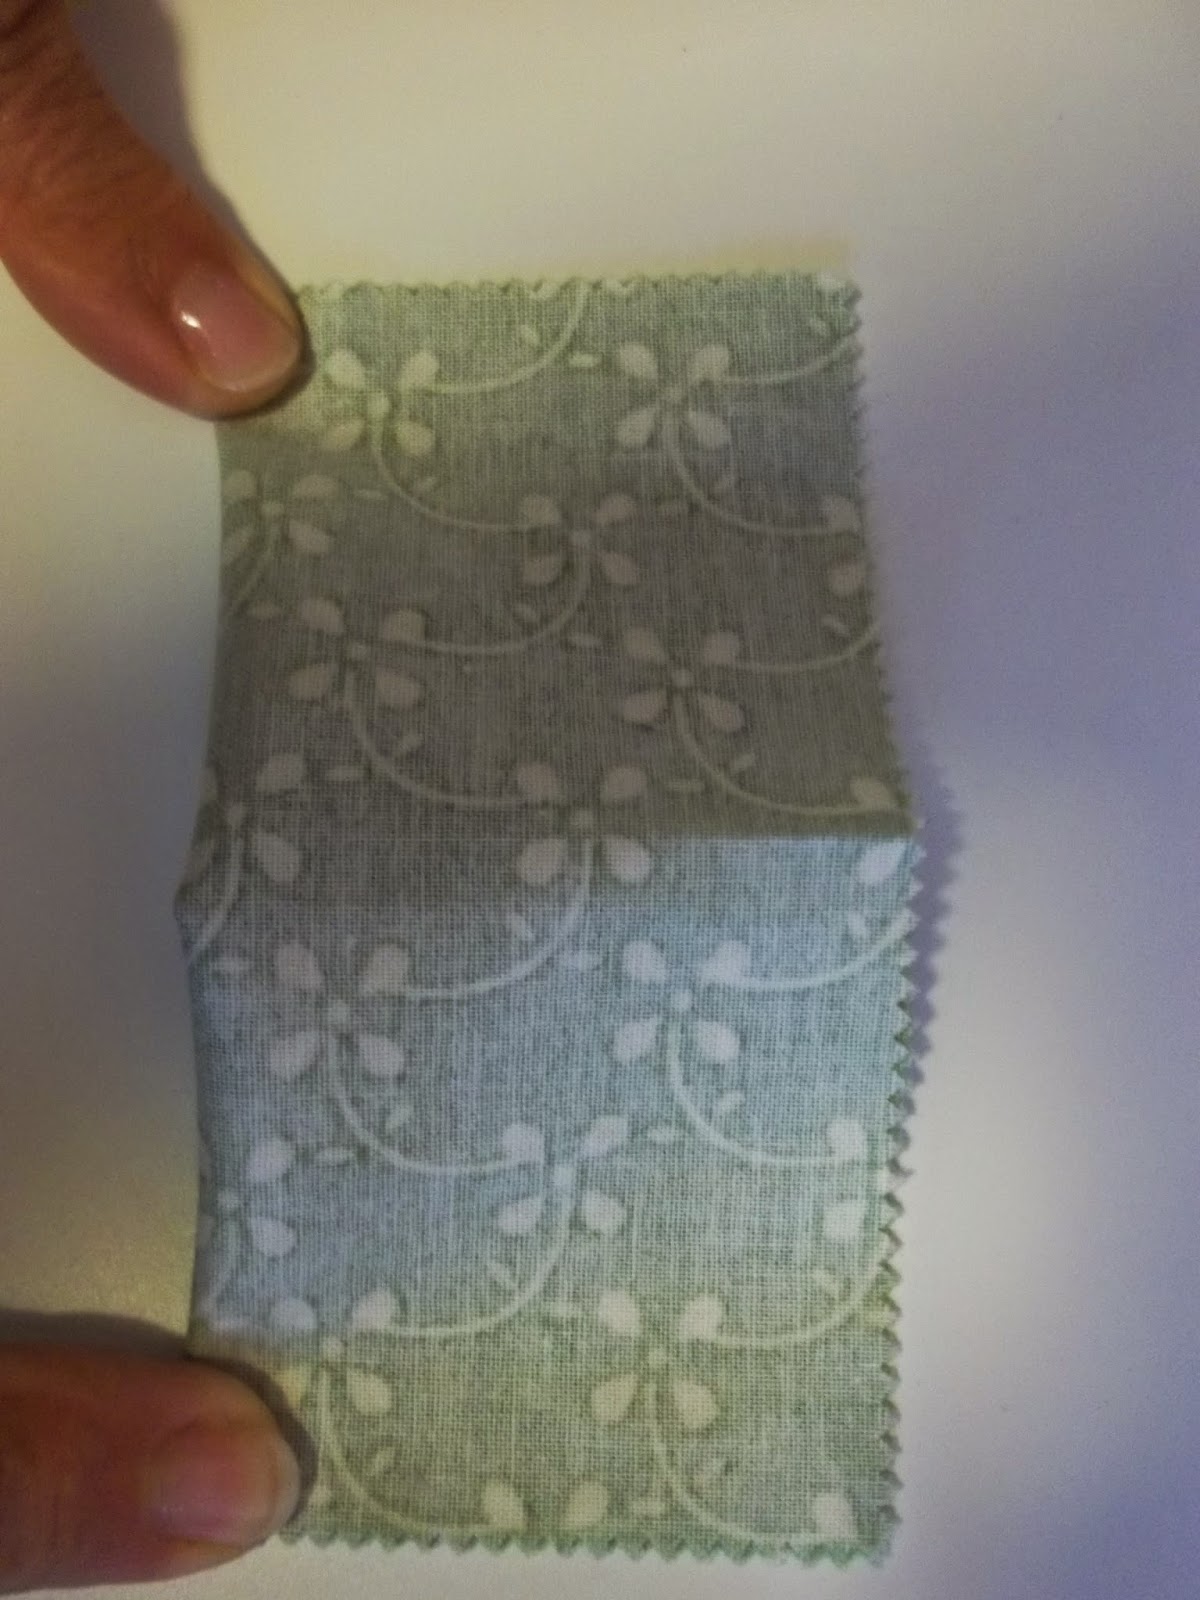
Open back up and fold in the other direction repeating the finger pressing. You should now have a charm square with a fold mark in the center of each side.
Pick up the fold and moving to the right, match it to the point/corner of the charm square. Pin the fold/point to hold it in place. Move to the right and pick up the next Fold match it to the next point, always moving to the right.
Continue around the charm square until you have all four folds pinned to all four corners.
This is how your block will look at this point. The center will be puffy.
Flatten the center. Your block will look like a square in a square.
The back side of your block will look like a four patch.
With needle and thread, use the corner of the block as your guide to find the mid point of the center edge of the folded square. Make a stitch.
I used a contrasting thread so that you can see the stitches. After the first stitch move to the next side and make another stitch at the center edge of the folded square.
Repeat this process all around block, until you find yourself back at the first stitch. End with last stitch near the knot where you began. Do NOT cut your thread of tie it off. Remove pins.
Place your finger in the center of stitched square. Slowly pull the needle and thread so that the fabric begins to gather around your finger.
Remove finger and pull thread taunt. You should have what looks like a four leaf clover.
Fold clover in half, with two leaves on each side.
Your needle and thread are still attached at the center point of this folded clover. Move the thread to one of the ends and make small basting stitches all along the top. Making sure to catch all four pieces of fabric.
Sew all across the top and knot it off at the end.
Turn block over and gently pull on the corners of the bow.
You should now have a 3-D bow block.
The block can be pressed and I squared mine up to 3 1/2".
I put my blocks on point with plain alternate blocks and setting triangles. Unfortunately once they are sewn into a project they lose some of their 3-D appearance. Thank you Sharon for being my hand model and teaching us all this really fun block.


1 comment:
Thank you for sharing the tutorial. I will certainly give it a try!
Post a Comment