

Transfer the design, in reverse, onto the dryer sheet using a marker.


Center this on the right side of pieced fabric square.
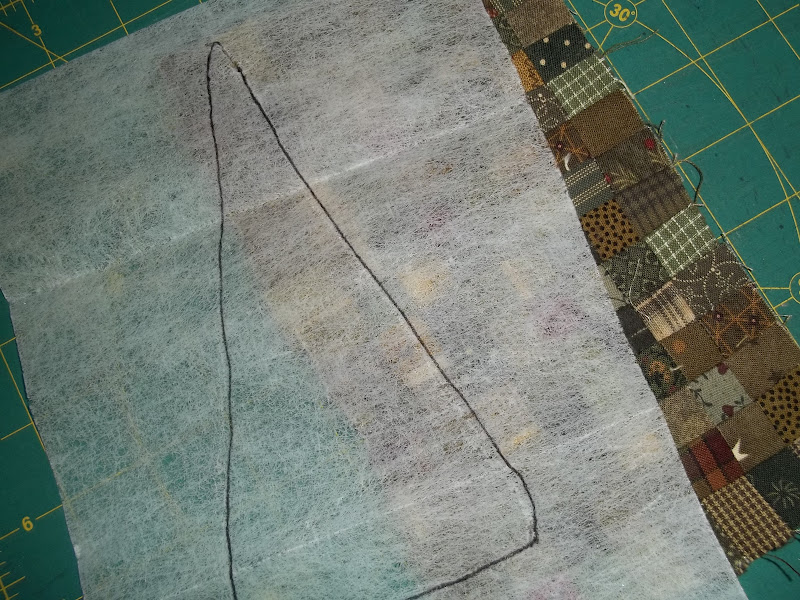
Reduce your stitch length to 1.5, 1.8 or 2.0, depending on how many curves you need to go around.

You will sew ALL THE WAY around the design, no gaps, no turning opening. Also sew just a hair on the outside of the line.

Lock down your stitch when you end. Trim away excess fabric. I use pinking shears if there are lots of curves and I still clip those curves. Now make a turning slit with scissors in the center of your applique'. Not too big, just an inch or two.
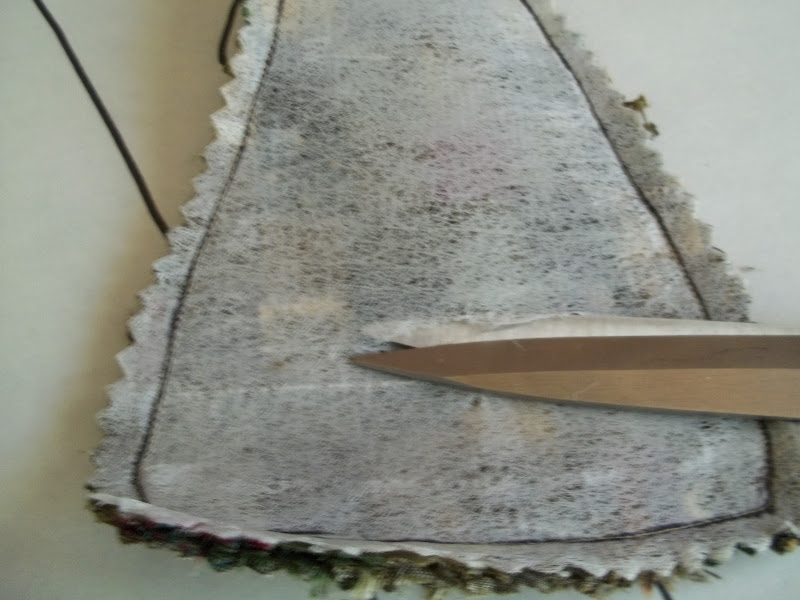
If you have an accident prone child ie: big boy, then you probably have a pair of hemostats laying around. Not only are they great for removing stitches and staples but they work really well when turning doll parts or in this case applique'.

Now the dryer sheets are very fragile and will tear easily. Be very careful when turning. A chopstick will help push out any corners.

Once turned press from the front.

3 comments:
Wow! That is a great idea! thanks for sharing!
Blessing,
Gert
Thank you Gert I'm so glad you found it helpful.
a used dryer sheet or new?? (as if i am sewing together those 1 inch sq!)-is there gonna be a scottie dog in this one?!
Post a Comment